Interior FPV drone flythroughs have become one of the most popular styles of cinematic videography in recent years. Businesses, restaurants, gyms, hotels, offices, and real estate companies are now using immersive FPV videos to showcase their spaces in a more dynamic and engaging way. Unlike traditional drone footage, FPV (First Person View) flythroughs create a smooth one-take cinematic experience that makes viewers feel like they are physically moving through the building.
If you want to learn how to film interior FPV drone flythroughs professionally, this guide will help you understand the equipment, planning process, shooting techniques, and editing workflow needed to create stunning cinematic results.
What Is an Interior FPV Drone Flythrough?
An interior FPV drone flythrough is a continuous drone shot filmed inside a building using a small agile FPV drone. The drone flies through hallways, rooms, doorways, staircases, and tight spaces while capturing smooth cinematic footage.
These videos are commonly used for:
- Real estate marketing
- Restaurant promotions
- Gym tours
- Hotel showcases
- Office walkthroughs
- Event venues
- Retail stores
- Social media advertising
Because FPV drones can move fluidly through interiors, they create a unique “one-take” cinematic effect that traditional cameras cannot easily achieve.
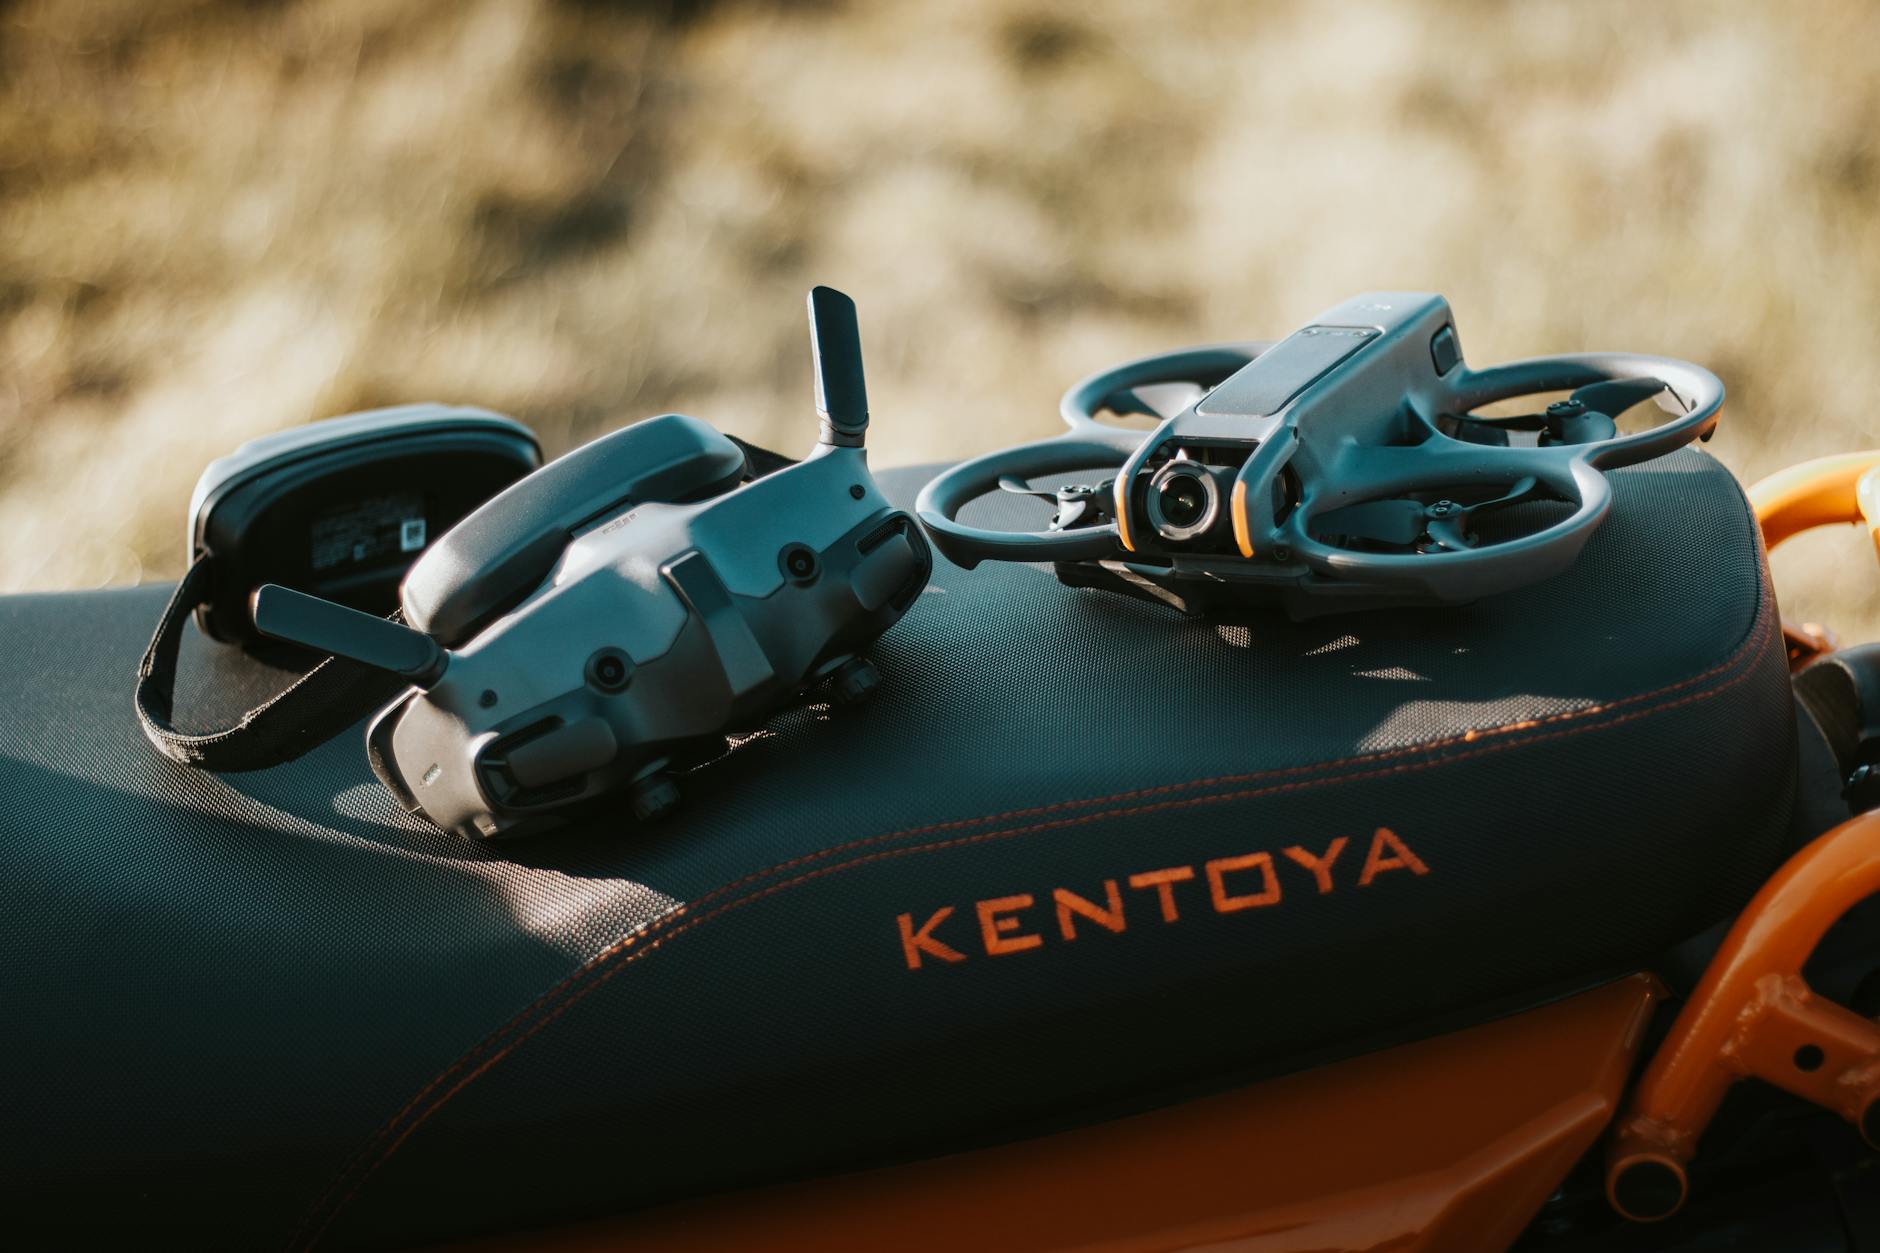
Choosing the Right FPV Drone
The first step is selecting the proper drone setup for indoor filming. Interior flythroughs require lightweight drones with propeller guards for safety.
Popular indoor FPV drone options include:
- DJI Avata
- Cinewhoop drones
- GEPRC CineLog series
- iFlight Protek series
Cinewhoop-style drones are especially popular because they are designed for cinematic indoor flying. Their ducted propellers help reduce damage risks when flying near walls or people.
You should also use:
- A stabilized action camera like a GoPro
- ND filters for smoother motion blur
- High-quality FPV goggles
- Reliable radio controller
Plan the Entire Flight Path
Planning is one of the most important parts of filming an interior FPV drone flythrough. Unlike outdoor drone shots, indoor spaces often contain obstacles, narrow hallways, glass surfaces, and lighting changes.
Before filming:
- Walk through the entire building
- Identify entry and exit points
- Decide where transitions will happen
- Plan camera movements carefully
- Check for obstacles
- Create a smooth route
Professional FPV pilots often rehearse the route several times before recording the final shot.
A good flythrough tells a story. Instead of randomly flying through rooms, guide viewers naturally through the environment.
For example:
- Start outside the building
- Fly through the entrance
- Showcase the main interior
- Move into feature areas
- End with a dramatic reveal
Prepare the Interior Space
A clean and organized environment dramatically improves the final result.
Before shooting:
- Remove clutter
- Turn on decorative lighting
- Open curtains for natural light
- Arrange furniture properly
- Prepare branding elements
Businesses should ensure the space looks visually appealing because FPV footage captures every detail in motion.
Lighting is especially important. Dark interiors can create noisy footage and make flying more difficult. Use additional lighting if necessary to maintain exposure consistency throughout the route.
Use Smooth Cinematic Movements
The key to cinematic FPV drone filming is smooth motion.
Many beginners make the mistake of flying too aggressively indoors. Fast movements and sharp turns may look exciting in freestyle FPV videos, but commercial flythroughs require controlled cinematic motion.
Focus on:
- Slow turns
- Gentle elevation changes
- Smooth doorway transitions
- Controlled camera angles
- Stable speed
The goal is to create an immersive viewing experience.
One effective technique is maintaining consistent movement speed throughout the shot. Sudden acceleration can feel distracting and reduce the professional quality of the footage.
Practice Doorway and Tight Space Transitions
Doorways are one of the most challenging parts of indoor FPV flying. Smoothly passing through tight spaces requires precision and practice.
Tips for better doorway transitions:
- Approach slowly
- Keep the drone centered
- Avoid over-correcting
- Use gradual stick inputs
- Practice repeatedly
Experienced pilots often use small camera tilts and smooth yaw movements to create more cinematic transitions between rooms.
Flying through narrow hallways, around furniture, or under objects can also add visual interest when done carefully.
Camera Settings for Cinematic FPV Footage
Proper camera settings play a major role in achieving professional cinematic footage.
Recommended settings:
- 4K resolution
- 24fps or 30fps
- Wide color profile
- Manual exposure
- Low ISO
- ND filters for motion blur
Many FPV filmmakers follow the 180-degree shutter rule for natural motion blur.
Shutter Speed≈12×FPS\text{Shutter Speed} \approx \frac{1}{2 \times FPS}Shutter Speed≈2×FPS1
For example:
- 24fps → 1/48 shutter speed
- 30fps → 1/60 shutter speed
This creates smoother cinematic movement.
Communicate With the Business Owner
If you are filming for clients, communication is extremely important.
Before filming:
- Discuss the route
- Identify key areas to highlight
- Understand branding goals
- Ask about preferred style
- Confirm safety requirements
For restaurants or gyms, business owners may want the flythrough to emphasize atmosphere and customer experience.
For real estate projects, the focus may be on room flow and spatial layout.
Understanding the client’s goals helps create more effective footage.
Safety Tips for Indoor FPV Flying
Indoor drone filming requires extra caution.
Important safety practices include:
- Use propeller guards
- Avoid crowded areas
- Maintain visual awareness
- Fly slowly near people
- Inspect the drone before filming
- Keep batteries fully charged
Small Cinewhoop drones are generally safer for indoor use because their protected propellers reduce damage risks.
It is also a good idea to perform several test flights before attempting the final cinematic take.
Editing Interior FPV Drone flythroughs Footage
Editing transforms raw FPV footage into a polished cinematic video.
Popular editing software:
- Adobe Premiere Pro
- DaVinci Resolve
- Final Cut Pro
During editing:
- Stabilize footage if needed
- Add cinematic music
- Use speed ramps carefully
- Color grade the footage
- Improve shadows and highlights
- Add sound effects for immersion
Color grading is especially important for maintaining a cinematic mood. Warm tones often work well for restaurants and hotels, while clean modern grades suit offices and commercial spaces.
Avoid overusing transitions because the flythrough itself already provides natural movement.
Common Mistakes Beginners Make
Many beginner Interior FPV Drone Flythroughs pilots struggle with:
- Flying too fast
- Jerky movements
- Poor exposure settings
- Over-editing footage
- Inconsistent flight speed
- Lack of planning
The best interior FPV videos feel effortless and smooth.
That level of quality comes from preparation, practice, and patience.
Final Thoughts
Interior FPV drone flythroughs are changing the way businesses showcase their spaces online. From real estate and restaurants to gyms and hotels, cinematic FPV videos create immersive visual experiences that attract attention on websites and social media.
Learning how to film interior FPV drone flythroughs takes time, but with the right drone, careful planning, smooth flying techniques, and professional editing, you can create highly engaging cinematic content that stands out.
As FPV videography continues to grow in popularity, mastering indoor flythrough filming can become a valuable skill for videographers, filmmakers, and creative agencies looking to offer premium visual marketing services.
Leave a Reply